The front of a typical double garage often takes up a third of the typical ranch home's face.
For this reason, if you have a garage door that needs attention it shouts that your whole home needs attention.
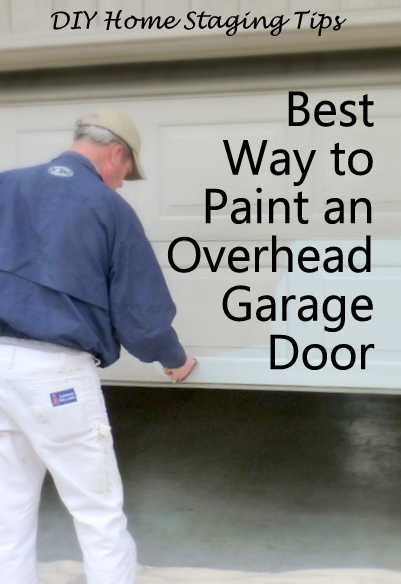
You may not be able to paint your home's siding yourself, but anyone can paint a garage door. And a new-looking garage door goes a long way to boost your curb appeal.
I've painted many garage doors. This time I stood back and took photos while my dear husband painted a client's. Here is the step-by-step to help you do it yourself.
There's a right way and a wrong way to DIY a garage door repaint.
The wrong way takes hours, makes a mess of splatters on the concrete, and leaves gaps of old paint color at the ends of the panels when the door is opened. Here is the right way.
As with all DIY projects, having the right tools and supplies is the first step to getting good results with the least effort. So, gather these materials.
- Exterior paint
- A clean 1-gallon work bucket.
- 3-inch latex brush
- Stir stick
- Sanding sponge
- Old brush for dusting
- Rags
- Dropcloth
- Step stool
- 5-in-1 tool or paint can opener
How much paint?
The amount of paint you'll need depends on a few factors. An aluminum door (most today are aluminum) will need less paint than a wooden door. If you are repainting the same color, you'll need less paint than if you are drastically changing the color. And, of course, if the garage is a single, you'll need less paint than a two-car garage door needs. Whether you have glass panels in the door, or not, isn't really a factor.
So, unless you are painting a single car garage door the same color, I would suggest that you buy a gallon of paint rather than a quart. When you buy a gallon, it's like getting a quart free because of the price break. You're likely to find other uses for the paint. You might want to freshen your exterior trim if it is the same color, some shutters, a planter or window box, or some outdoor furniture.
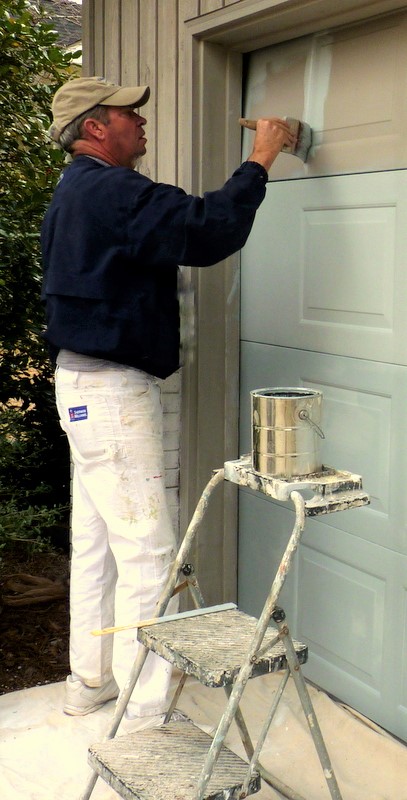
Painting an overhead garage door is a whole lot easier than painting a front door. But some of the same cautions apply: Choose a windless day that's not too hot or too cold, and when you can work without distractions and interruptions. (Moms of young ones, take heart. In the time it takes a toddler to have his afternoon nap, you should be able to start and finish.)
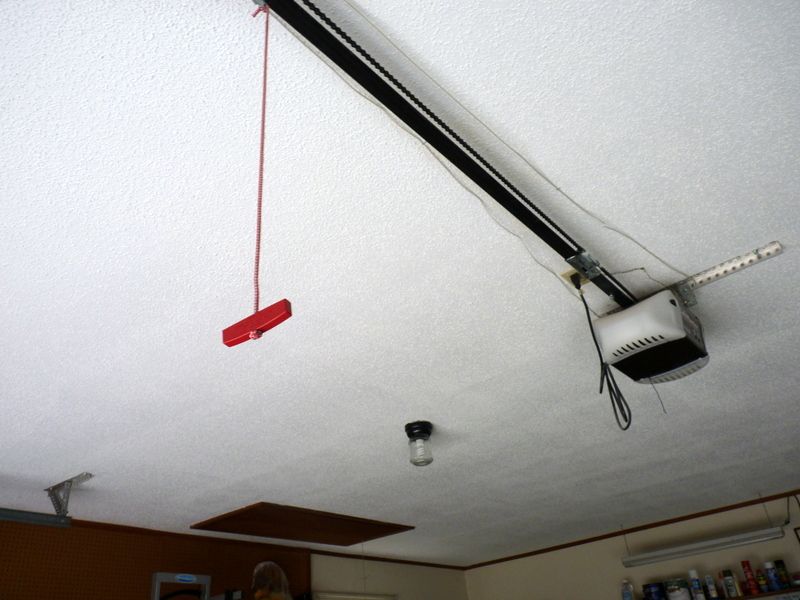 |
| Ever notice that hanging pull on your garage ceiling? If you tug the red handle, you'll disengage the electric opener. That's what you want. Now you're ready to move the garage door up and down manually from outside. |
 |
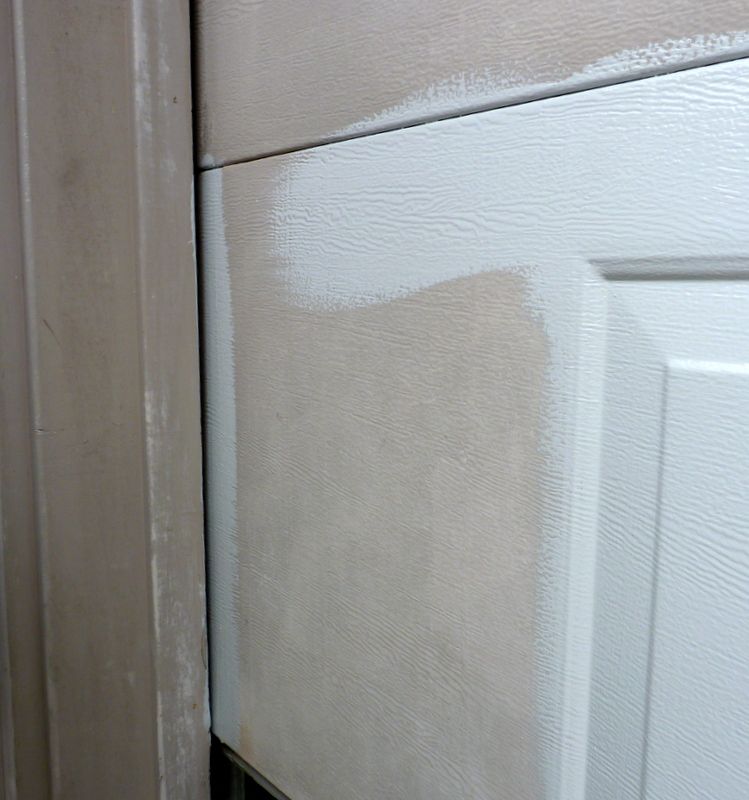
| Inevitably, the garage door will have dust, dirt, cobwebs, and oxidized paint, so you'll want to clean it. The easiest way is to take a sanding block to the entire door. Push the door up and down manually to quickly go over the whole surface. Pay attention to the gasket on the bottom edge so no dirt gets in your paint. Remember that you're not painting an interior piece of fine furniture, so the surface doesn't have to be perfect. 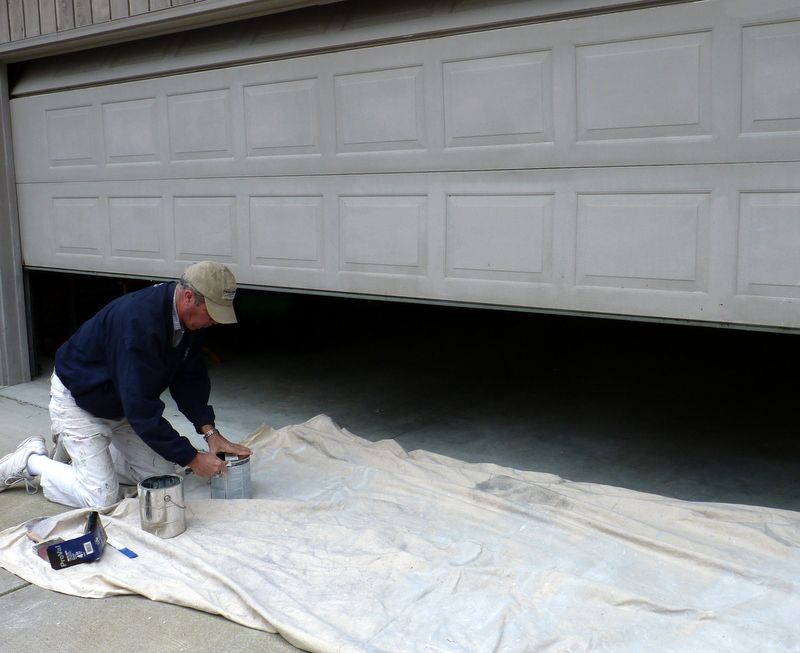
Use an old paintbrush or a rag to get rid of dust and dirt stirred up by your sanding. |
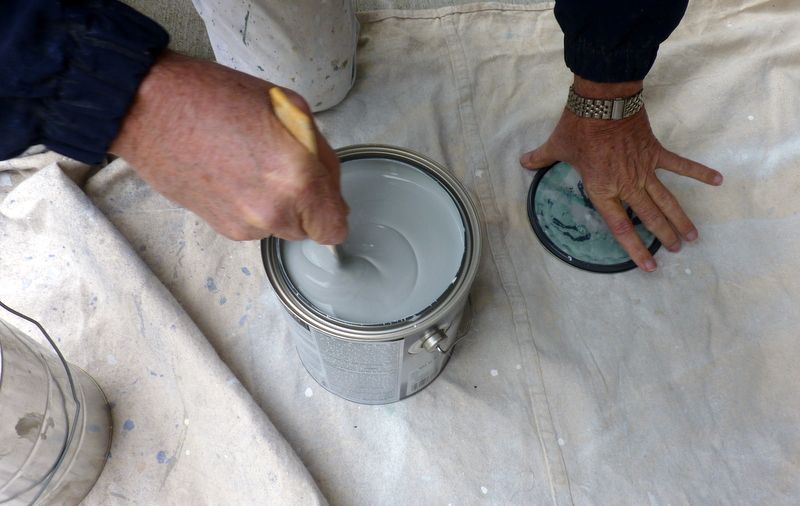
Pour only a quart into a clean work bucket, like an empty paint can.
Wipe the lip of the original can, replace the lid tightly, and set it out of the way.

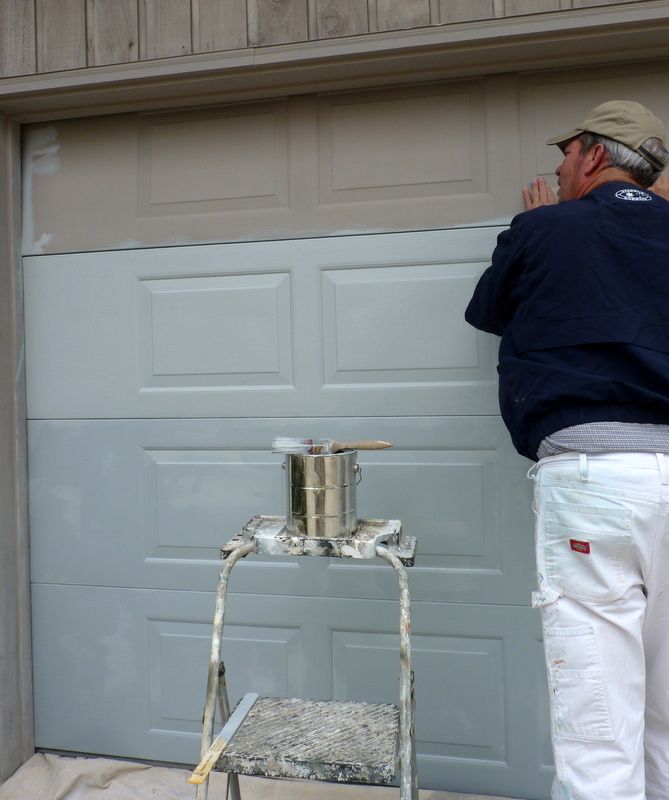
so you are not stooping over to paint. Do not paint the gasket on the bottom edge
unless it was painted previously and needs a repaint.
as best you can. If you plan to paint the trim surrounding the door,
you don't have to be fussy about keeping paint off the trim.

It's easier to paint the extreme ends of the panels when they are at the very top
of the door opening, as above. You'll have to reach up or use the step stool to paint the them.

When the panel you've finished is at the top of the opening, paint the edges of
both the upper and lower panels, the "lips" where they meet. Since this area does not receive much direct sun or weather,
it's not necessary to go heavy with the paint, so do not load your brush.
before lowering the door. Use a step stool to stand on rather than stretching to
reach the top panel. Check the entire door for runs, drips, and misses.
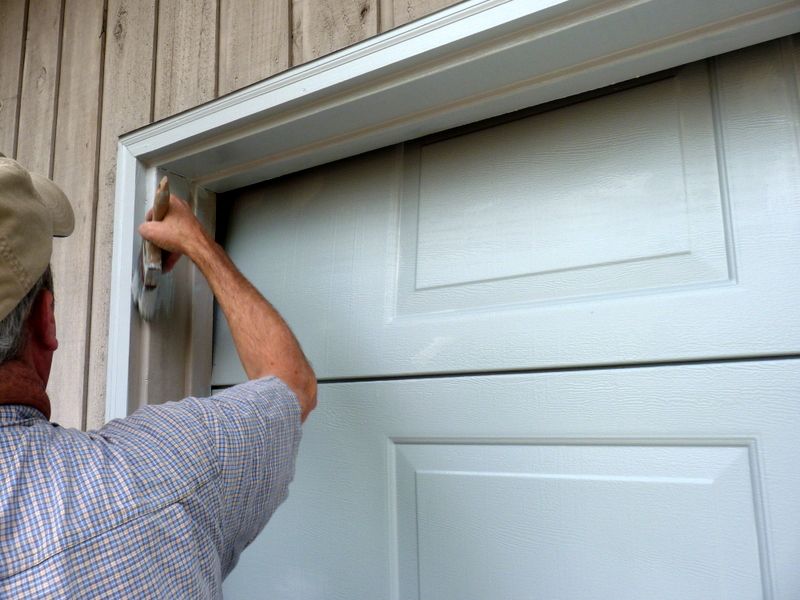
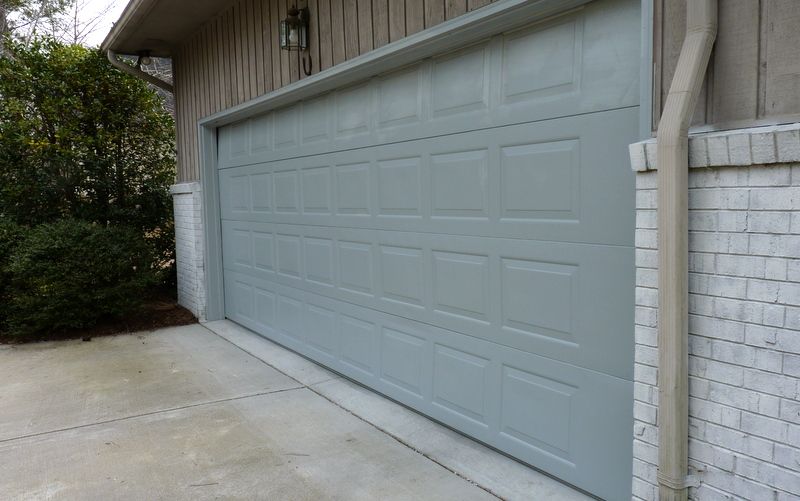
siding, the trim and the overhead door all the same color. It's a contemporary, no-nonsense look
that is fine for modern homes.
Next week we'll spray her brick foundation white, and brush the siding grey.
If your door needs two coats for good coverage,
you could put on a second coat the same day if the first coat is
thoroughly dry. Or just wait until the next good painting day.
Would you refresh your own overhead garage door with paint? There are plenty of simple staging tricks and secrets that are even simpler than this in my home staging pdf. Put your home to work for you! You can download my eBook DIY Home Staging Tips to Sell Your Home Fast and for Top Dollar right now and begin making your home the one that real estate buyers want!