Real Estate is About Location Even More Than You Think
Wednesday, August 31, 2011
Having Hurricane Irene tear my neighborhood apart last weekend reminded me of the value of living in the right place. You could say I was in the wrong place at the wrong time to be visited by a category one hurricane, but that’s not the whole story.
I love my little town. When a serious storm approaches, the mayor robo-calls every one of our 3,000 citizens so we all know the dangers. We’re told of any special precautions the town is taking, and how we can best prepare our property and ourselves.
Our town, River Bend, North Carolina, has an Internet List-Serve as well, so before really bad weather hits, emails fly from town government, small businesses, and neighbors.
We’re told where the nearest emergency shelters are and which ones take pets.
Handymen post their cell phone numbers, and people exchange tips on how to prepare. Such as:
- Have a “go-bag” ready in case you need to evacuate.
- Be able to find the flashlight and candles in the dark.
- Charge your cell phones and fill your cars' gas tanks.
- Don’t forget to bring your rubber boots in the house.
- Get up to date on laundry.
- Fill the tub with water.
- Watch out for snakes and fire ants after the storm.
- Don’t drive through water.
Except for the part about the rubber boots I did all of that. I still can't find my boots. They must be buried under all the equipment that rearranged itself in my garden shed when it flooded.
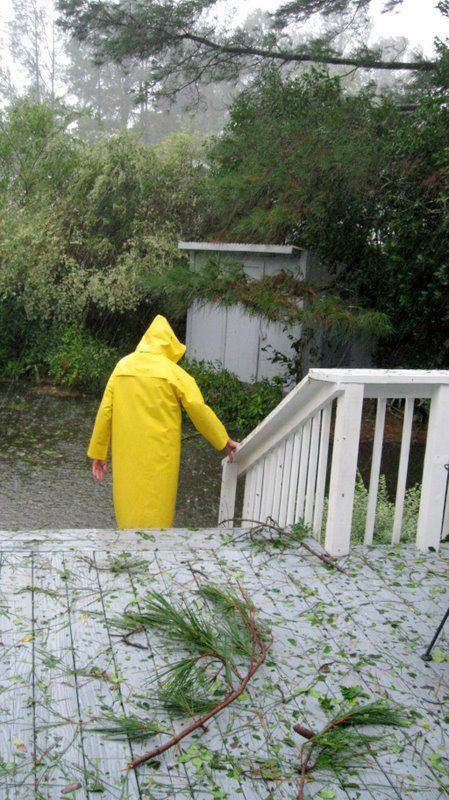
When Irene blew through our town, she took down trees and power lines. She moved the river and the rains around to flood buildings and streets. She sent debris flying through the air and floating on muddy, moving water.
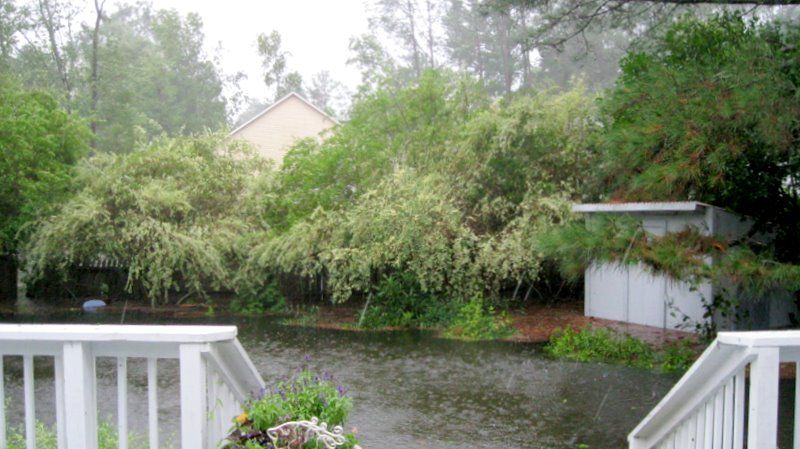 |
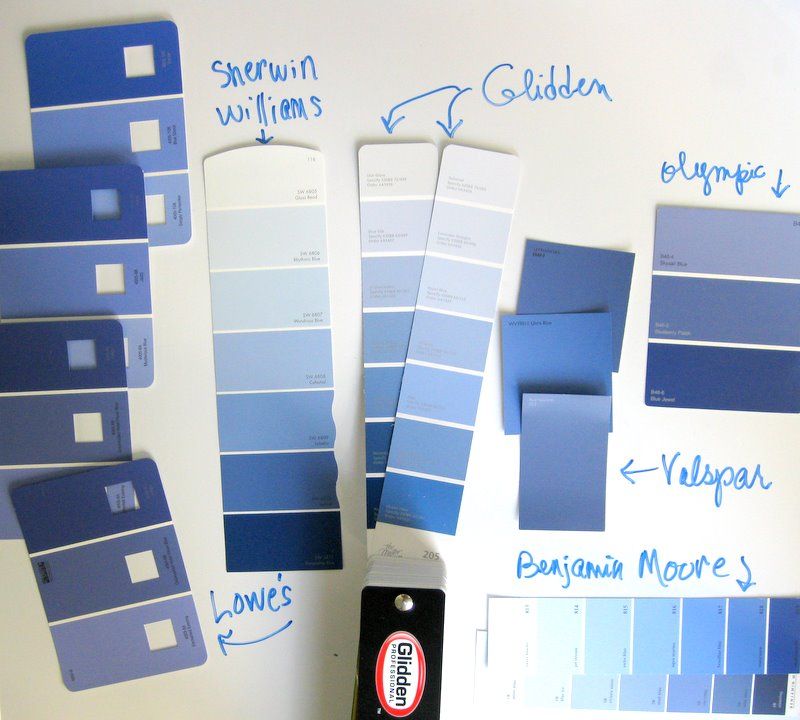
You can just catch a glimpse of my blue chair, the one I photographed when
I wrote about the color periwinkle last week. Eventually, it was totally submerged.
This was a common scene around town last Sunday.
In North Carolina alone, four people died as a result of the hurricane
Afterwards, on that beautifully sunny day that follows a hurricane, neighbors were outside, sharing wheelbarrows, chain saws, jumper cables, wet/dry vacs, generators, and food.
Volunteers from our "pretty committee" cleared common areas around our parks, waterways and public buildings, knowing that the town's maintenance crew had their hands full.
Mr. Lucky spent most of the morning helping a neighbor tow his boat back to its pier after it broke loose and lodged itself in a nearby mash land.
The town manager and others with white collar jobs at town hall were in the ditches -- literally -- clearing debris so roads could be cleared and services restored. We were without power for only two days.

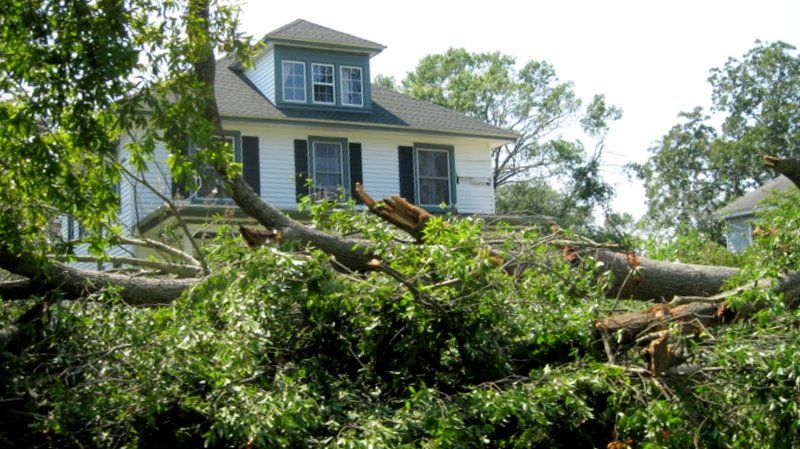
Many people were not as fortunate as we were. Friends on the Outer Banks had to leave their homes and hope for the best. One neighbor had to relocate when a tree fell on the roof above her bedroom. Roofs blew off, cars filled with water, and windows shattered. We're having to replace a furnace, duct work, and a vehicle, but we're grateful our losses are replaceable.
Mr. Lucky spent most of the morning helping a neighbor tow his boat back to its pier after it broke loose and lodged itself in a nearby mash land.
The town manager and others with white collar jobs at town hall were in the ditches -- literally -- clearing debris so roads could be cleared and services restored. We were without power for only two days.
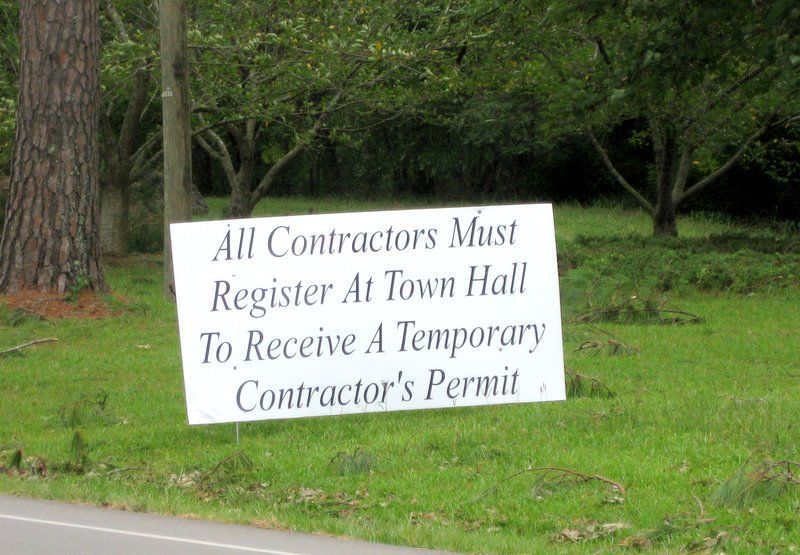
This sign is another example of how my town's government went to bat for residents
so opportunists couldn't take advantage of a bad situation.
Many people were not as fortunate as we were. Friends on the Outer Banks had to leave their homes and hope for the best. One neighbor had to relocate when a tree fell on the roof above her bedroom. Roofs blew off, cars filled with water, and windows shattered. We're having to replace a furnace, duct work, and a vehicle, but we're grateful our losses are replaceable.
Usually, when Realtors talk about location, they mean schools, the view, and how close the property is to shopping or transportation.
But location also means the spirit of the town, and its ability to weather storms of any kind. If your house is on the market, and you live in a town that is friendly, well-managed, and has fire, EMS, police and other services nearby, be sure your Realtor knows this and that buyers learn they get more than property when they buy your home. They buy the specifics and the spirit of the locale.