
 |
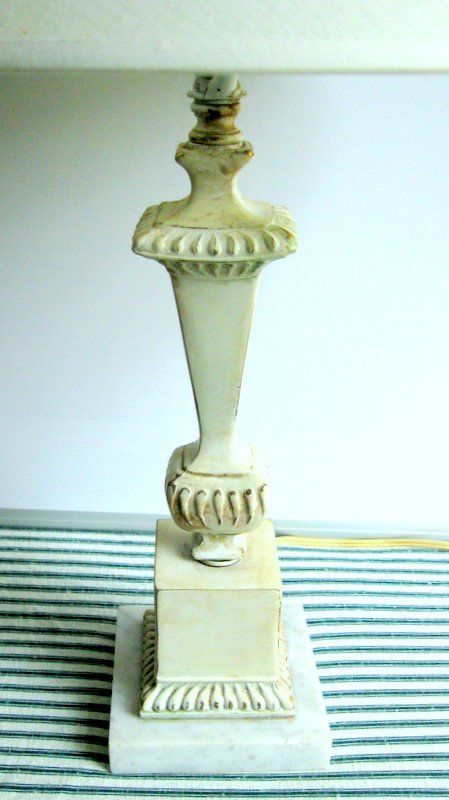
They were on a top shelf, too high for a 5'2" person to notice their marble bases. But even without going on tip-toes, I could read their fluorescent price stickers: $2.89 each.
Then, when I hefted one, I was sold.
I mean, two matching lamps, with classic profiles, and no missing parts, that weighed in at about five pounds apiece? I'd be crazy to not give them a home.
Today they are even more beautiful. Don't you love a Cinderella story?
Here's my step-by-step.
Clean it
I usually disinfect anything I buy second-hand. I have a friend who loves to buy vintage clothing, and she zip-bags and freezes for a week whatever she brings home.
I do a bleach wipe-down or dip, but since these lamps are getting spray-painted, I just cleaned them with my favorite Mrs. Meyers countertop spray -- lemon verbena --to get any residual dirt off. If you suspect grease or wax, clean with a degreaser or other solvent.
Now is the time to do any repairs to your project. I made sure the lamp parts were attached tightly by taking a screwdriver to the screw at the base. Some people will totally re-wire a second-hand lamp, and that's a good idea if the cords look like the lamp has had some abuse.
Consider your surroundings. If you are outside and it's windy, you might want to wait for another day. Not only will a breeze blow away more paint, but it could also send junk into your wet paint.
If it's too hot, like above 90 degrees, choose another time. Your paint begins drying even before it lands, and you end up with a powdery surface and poor adhesion.
You want a dry day, not a humid one that interferes with drying time and can give you a mottled, cloudy finish. Ideal conditions are between 50 and 80 degrees and less than 50% humidity.
It's best to check your label to be sure, and if your garden windsock is horizontal and your curly hair is all kinked up, don't spray.
If you put down paper or a drop cloth, weigh the corners so they won't blow up and ruin your work.
Prepping for painting is the time-consuming part of any painting project. But this tedious stuff is what makes a difference in the quality of your finished project.
I also like to wear gloves because spray paint doesn't easily come out from under my trigger fingernail.
Although this should be listed as step one, use good spray paints. Shun the cheap brands, which contain less paint per can, and spray unevenly. The tip on a good spray paint can will spray without splattering and not clog as easily.
You can also tell a good spray tip from a poor one by the shape of the spray pattern it throws out. Cheap tips spray a circle of paint, which doesn't help put down an even pattern of paint. Better tips spray in a fan shape, giving you better control of the paint, and minimizing goofs, thin spots, and runs.
Double-check your item from all vantage points before you finish spraying. Turn the can upside down for the final pass, to clear the tip.
If your project piece has areas that are difficult to reach, such as inside the legs of a chair or the edges of a frame, or what sculptors call "undercuts," start your spraying by doing these areas first. Usually, I turn these kinds of things upside down to begin the spray job. Then, I flip the piece over to finish spraying. Placing pushpins or other elevating devices on the bottoms of legs keeps them from sticking to your drop cloth.
When you are finished, store your spray paints where they won't freeze.
I do a bleach wipe-down or dip, but since these lamps are getting spray-painted, I just cleaned them with my favorite Mrs. Meyers countertop spray -- lemon verbena --to get any residual dirt off. If you suspect grease or wax, clean with a degreaser or other solvent.
Now is the time to do any repairs to your project. I made sure the lamp parts were attached tightly by taking a screwdriver to the screw at the base. Some people will totally re-wire a second-hand lamp, and that's a good idea if the cords look like the lamp has had some abuse.
Sand it
Going over any surface with sandpaper before painting is a good habit to cultivate, whether it's painted drywall, plastic flower pots, old dressers, or metal doors. My preference is a sanding sponge that paint stores sell. It fits into my hand, and easily gets into curves and crannies.Dust it
After sanding, you'll want to get rid of all the loose stuff that's left behind. Otherwise, it ends up in your pretty painted surface. The best tool is a tack cloth but a microfiber cloth works well, too. Notice that I suggest you dust an item before you place it on your actual work surface. | |
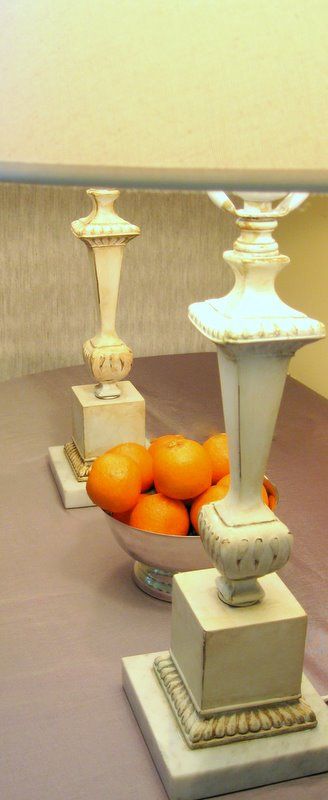
| What they looked like when I brought them home. |
Prep the area
You want a dust-free drop cloth or some other clean, level surface where you can safely place your item.Consider your surroundings. If you are outside and it's windy, you might want to wait for another day. Not only will a breeze blow away more paint, but it could also send junk into your wet paint.
If it's too hot, like above 90 degrees, choose another time. Your paint begins drying even before it lands, and you end up with a powdery surface and poor adhesion.
You want a dry day, not a humid one that interferes with drying time and can give you a mottled, cloudy finish. Ideal conditions are between 50 and 80 degrees and less than 50% humidity.
It's best to check your label to be sure, and if your garden windsock is horizontal and your curly hair is all kinked up, don't spray.
If you put down paper or a drop cloth, weigh the corners so they won't blow up and ruin your work.
Tape off
Use masking tape to snugly wrap the areas you don't want to be painted. I removed the finials to paint them separately, so I covered the screws that will hold them in place. I also removed the knobs to turn the lamps on and off, and taped up the screws that will hold those knobs. I taped over the marble bases, and stuffed plastic into the bulb socket.Prepping for painting is the time-consuming part of any painting project. But this tedious stuff is what makes a difference in the quality of your finished project.
Prep yourself
Wear old clothes, especially shoes if you are painting on a low surface like the floor or ground. Wear a respirator if you are indoors. Wear a respirator if you are pregnant. I'm not talking about a paper face mask for particulates in the air. You need a face respirator if you can't work in a well-ventilated area .I also like to wear gloves because spray paint doesn't easily come out from under my trigger fingernail.
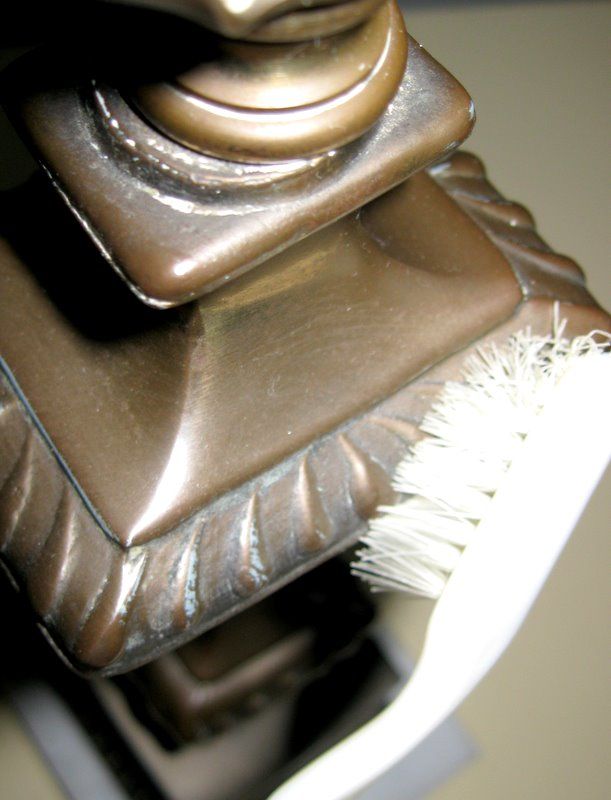 |
| A toothbrush cleans in the grooves. |
Spray away!
Shake very well. Use slowly sweeping motions, not a rapid back and forth. Two or three light coats are better than one heavy coat. Avoid getting too close and creating drips and runs in the paint.Although this should be listed as step one, use good spray paints. Shun the cheap brands, which contain less paint per can, and spray unevenly. The tip on a good spray paint can will spray without splattering and not clog as easily.
You can also tell a good spray tip from a poor one by the shape of the spray pattern it throws out. Cheap tips spray a circle of paint, which doesn't help put down an even pattern of paint. Better tips spray in a fan shape, giving you better control of the paint, and minimizing goofs, thin spots, and runs.
Double-check your item from all vantage points before you finish spraying. Turn the can upside down for the final pass, to clear the tip.
If your project piece has areas that are difficult to reach, such as inside the legs of a chair or the edges of a frame, or what sculptors call "undercuts," start your spraying by doing these areas first. Usually, I turn these kinds of things upside down to begin the spray job. Then, I flip the piece over to finish spraying. Placing pushpins or other elevating devices on the bottoms of legs keeps them from sticking to your drop cloth.
When you are finished, store your spray paints where they won't freeze.
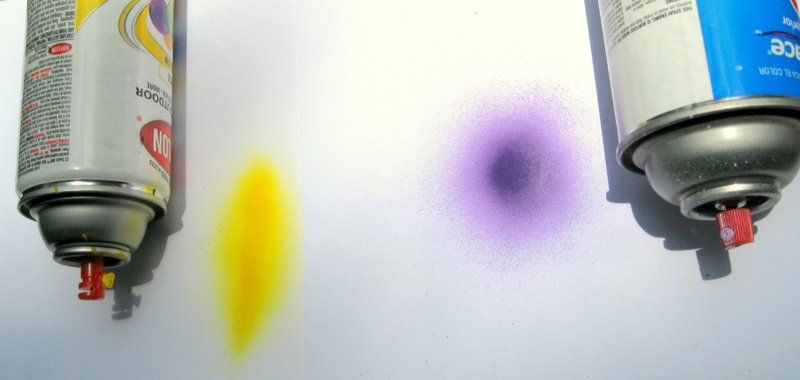 |
| The fan-shape spray pattern (yellow) gives better results than the circular pattern (purple). |
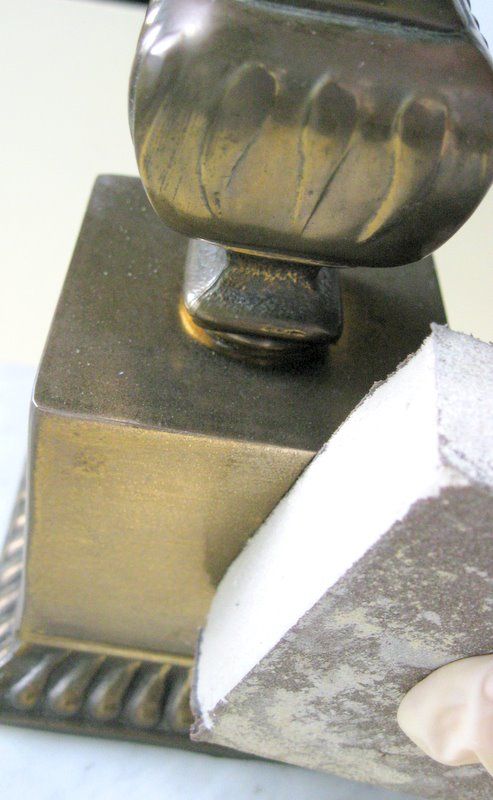 |
| Paint sticks better to a sanded surface. |
 |
| It's best to cover electric connections before you paint. |
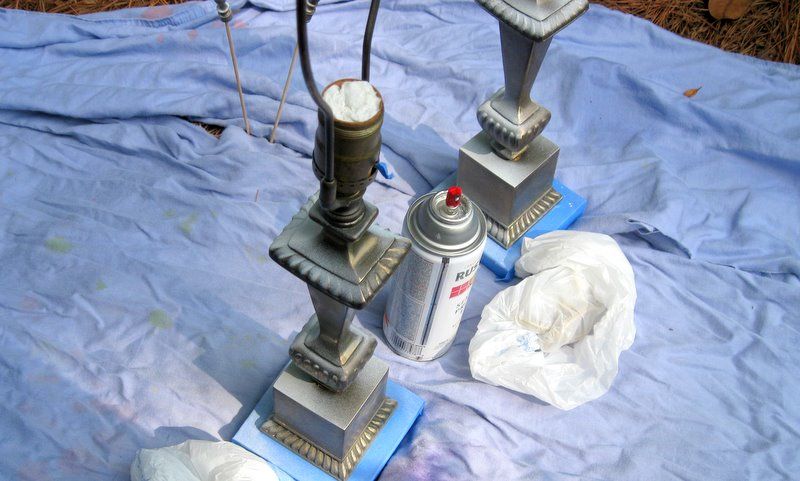 | |||||||||||||||||||||||
| I like to wrap the electric cords in plastic bags rather than cover them with tape. |
 | |||||
| I put the finials on skewers to elevate them while spraying. |
 |
| The lamps after painting. I sanded the high spots on the left one, and the right one is next. |
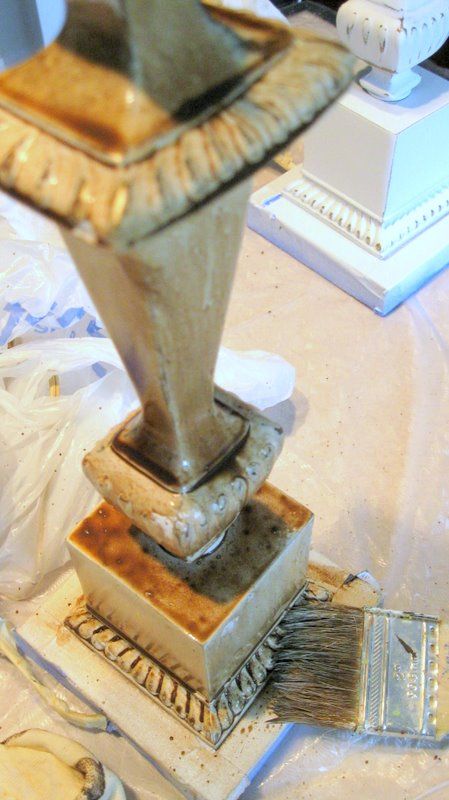 |
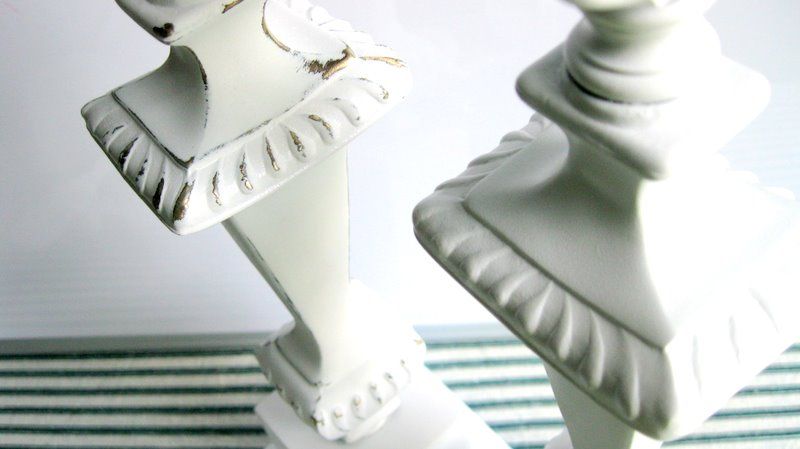
| To further "antique" the lamp, I brushed on a thin wash of brown craft paint. |
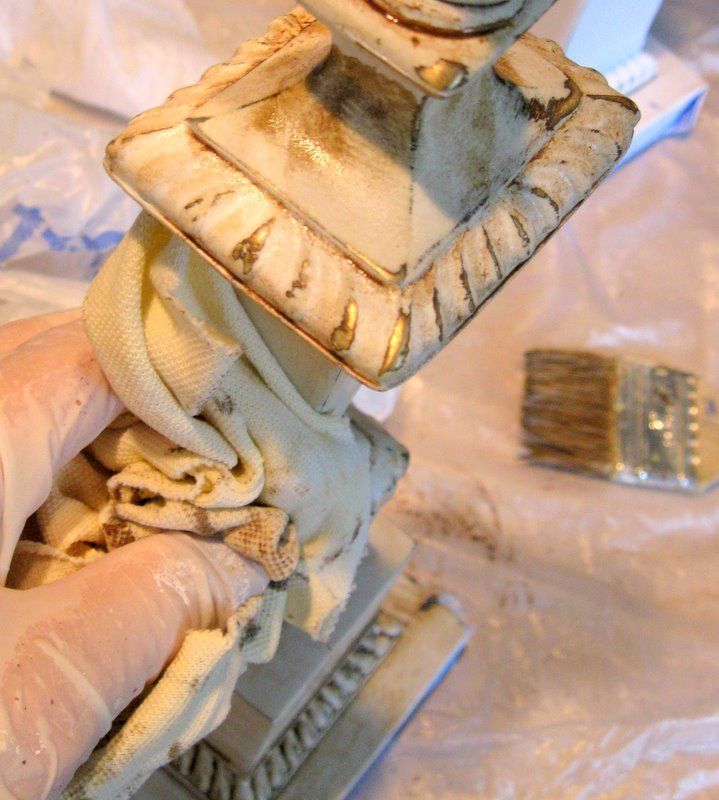 |
| Before the brown wash dried, I rubbed most of it off. Then I removed the tape, and gave them light bulbs and new shades. |
 |
| I love the look of my new vintage-style table lamps. |
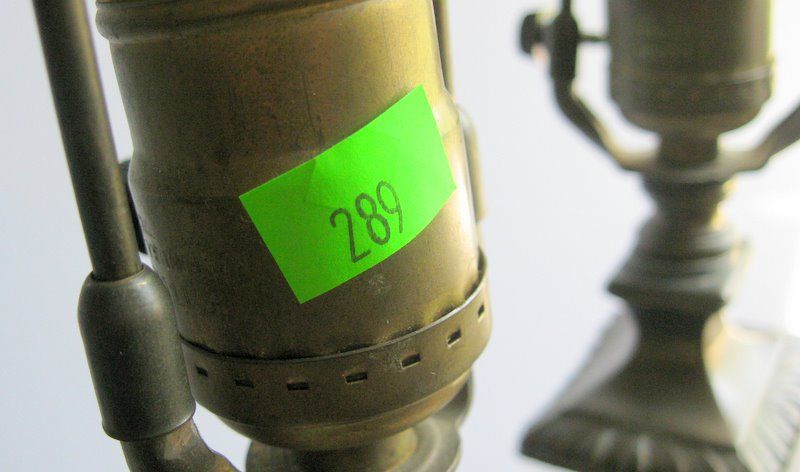 |
| I am going to pretend that my upcycled lamps are worth $289 now, instead of the $2.89 I paid. |
Get the look, get the book
If you are staging your home, I can help you make smart decisions, so you get more people looking at your home, a faster sale, and a better selling price. If your home is on the market, it is staged already. Do it right! My home staging ebook, DIY Home Staging Tips to Sell Your Home Fast and for Top Dollar, tells you how.


