
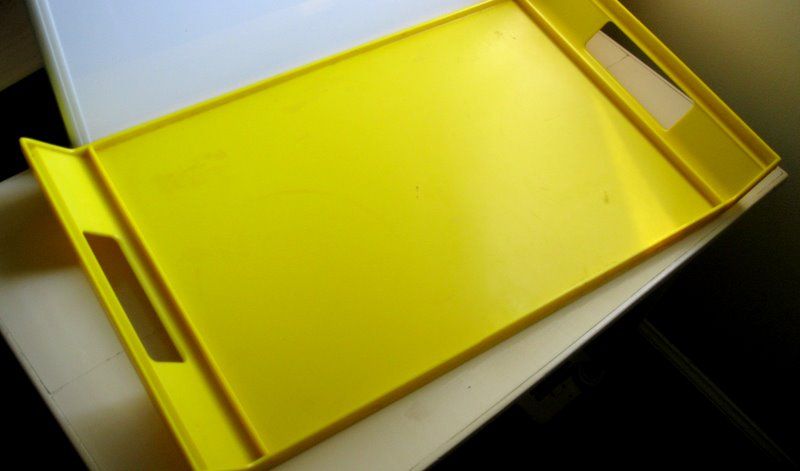
Such was the case when I spotted a plain jane, yellow plastic tray last week.
I knew that tray was dreaming of a more adventurous life. She was marooned at the second hand store, waiting to be thrown a lifeline. I was happy to rescue her.
When you stage a home on the market, serving trays like this one can add simple structure and style to a side table, vanity, bedside table, mantel, hassock, foyer bench, or coffee table.
I'm always telling you, "Don't use small objects when you stage," but you can almost tweak my rule when you put the small stuff on a tray.
It didn't bother me that my tray looked jaundiced and gaudy. She just needed some fresh air. And paint.


My first step when I got her home was to give her a bath. Once dry, I sanded her lightly, and sprayed on a coat of white primer, and then a coat of creamy white semi gloss.

I wanted to gussy up the handles and add some personality, so I found some white nylon rope to wrap around them. I thought that would give her the "nauti-look" I was after.

I hot glued the end of a length of rope to the underside of a handle, because I wanted to hide the end.
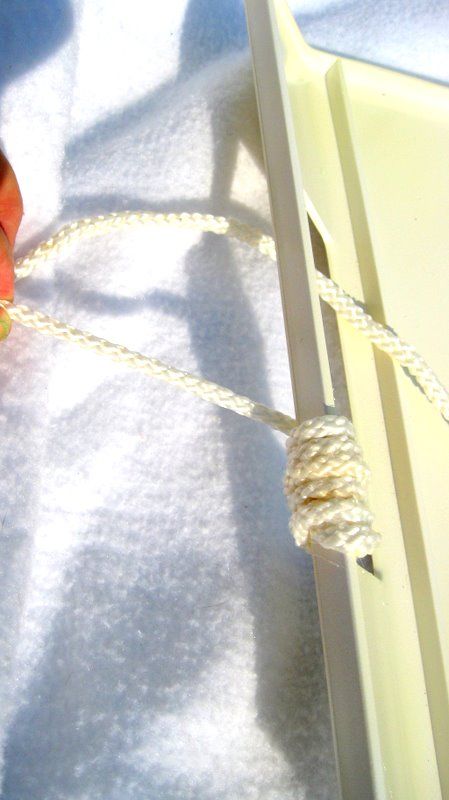
Then I started wrapping the handle with rope.

I ended the wrap on the underside of the handle, and glued the other end down.
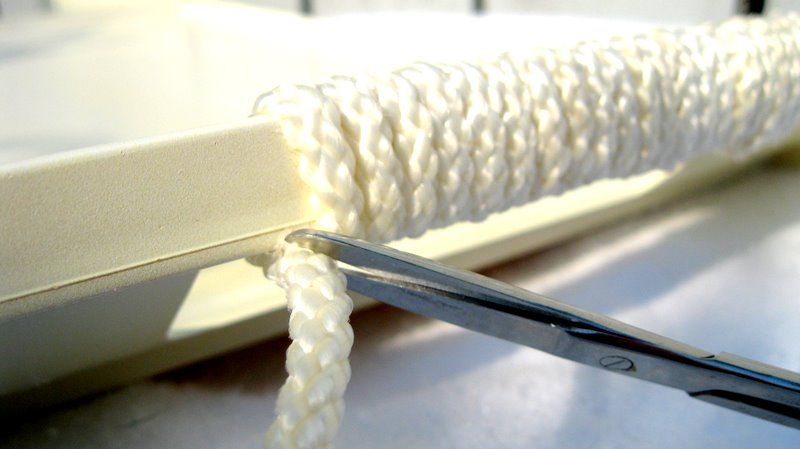
Then, I cut the end off, nice and clean.
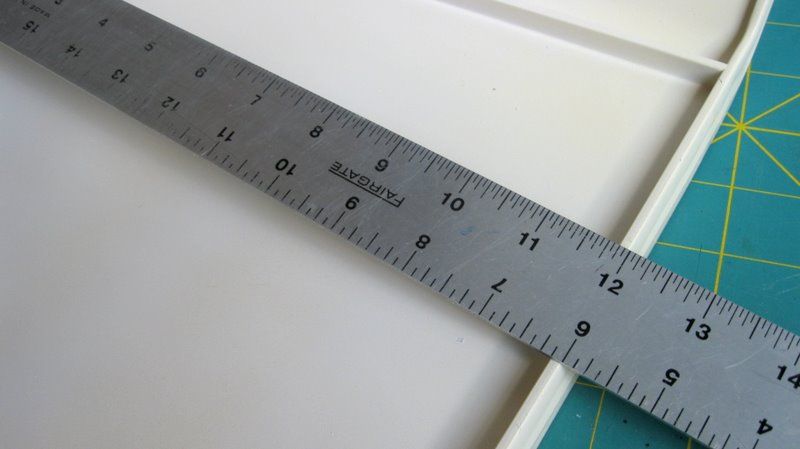
I tried tracing around the bottom of the tray, but in the end, I decided to be more accurate,
and measure the actual area I wanted to cover.
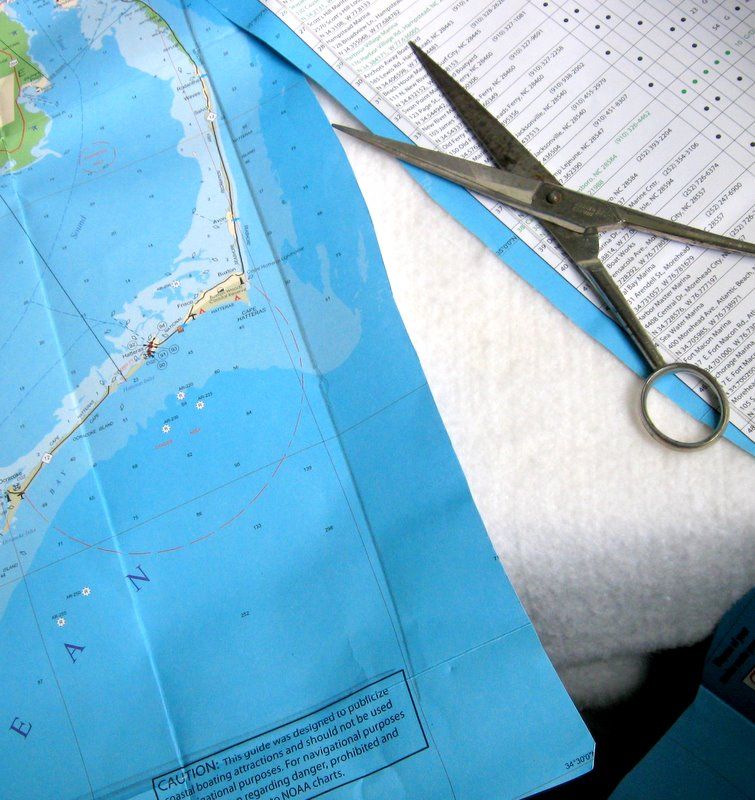
I rough-cut the maritime chart I wanted to use. It's important to use paper with as much substance as scrapbook paper, not a regular, lightweight road map or wrapping paper. Or you can paint a stencil design on a tray, like this one that Kristi at Pink and Polkadot did.
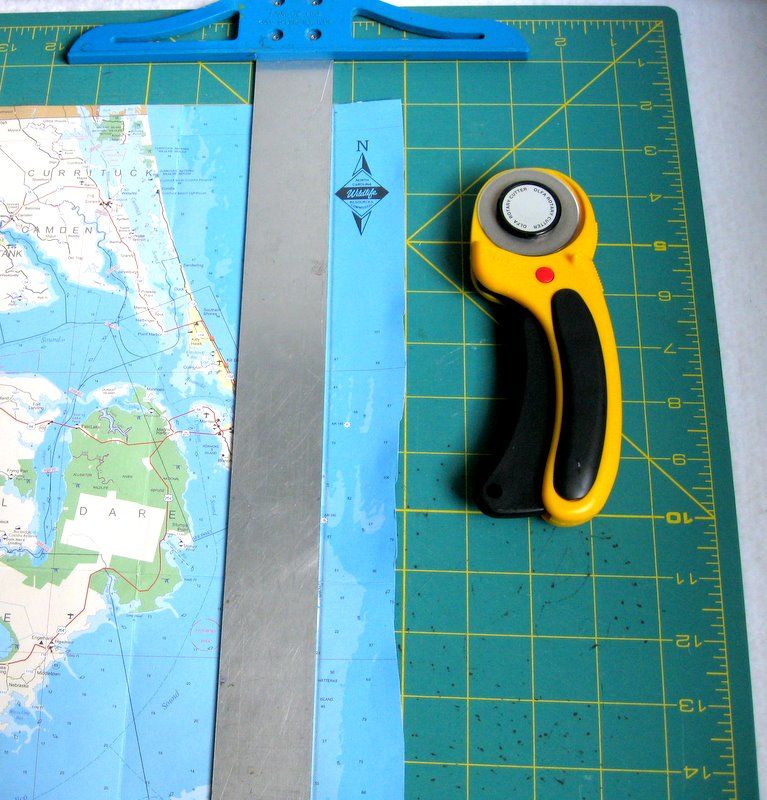
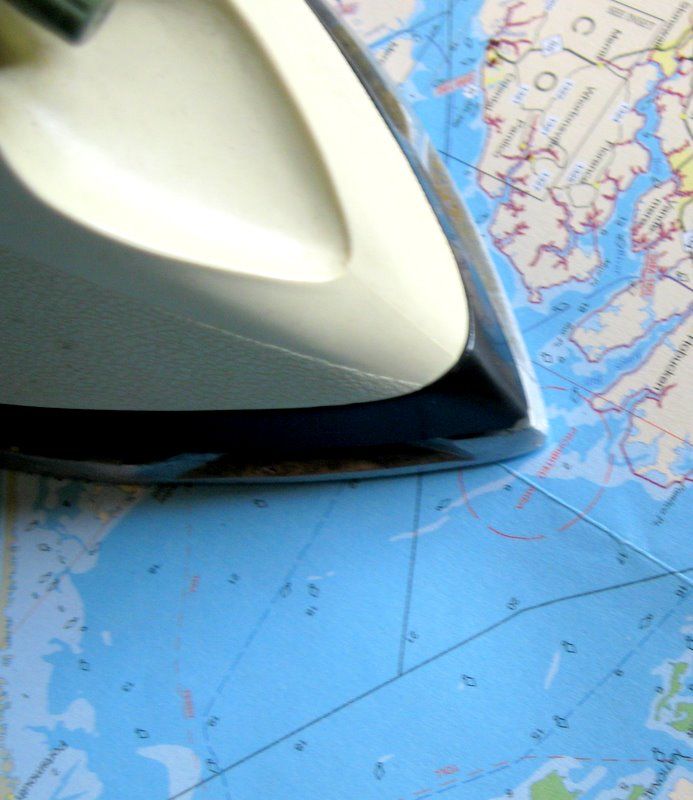
I cut the chart out with a rotary cutter, but scissors or a mat knife would also work. The edges should be straight and clean. You should dry-fit the paper onto the tray before going further. I ironed the map to smooth the wrinkles and creases. What gal wants those to show?
I applied spray adhesive on the back of the map and then quickly set it in place.
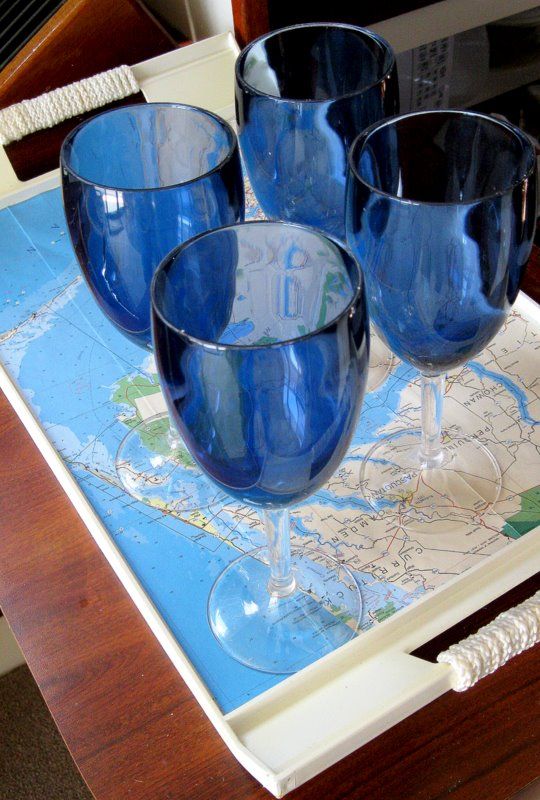
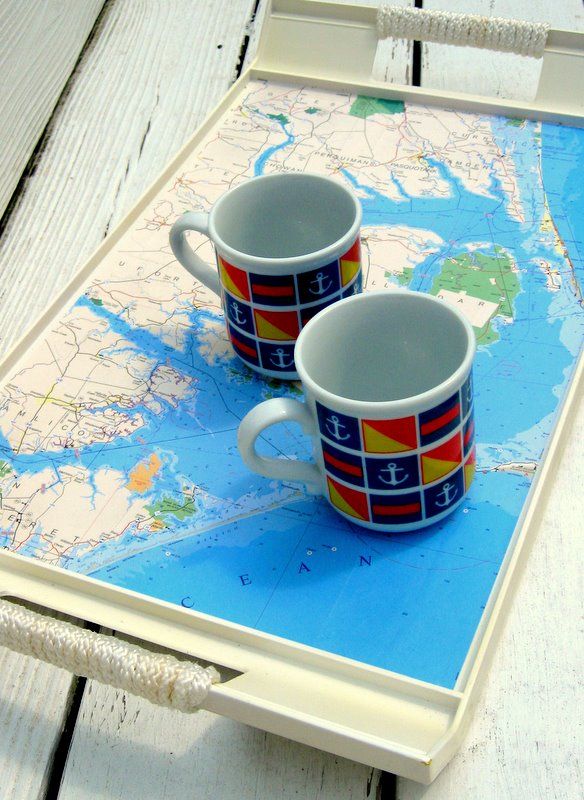
Finally, I sprayed the whole tray with a clear sealer. My serving tray is
all decked out for her new life.
all decked out for her new life.
I'm pleased with the look, and I know I'll find
plenty of uses for this tray on our boat, or for staging a house.
If you love DIY projects and you are staging a home for sale, download my eBook, DIY Home Staging Tips to Sell Your Home Fast and For Top Dollar, for top-notch, do-able ideas to help get your home ship-shape!


