
Today, class, we're turning ordinary cardboard containers that you could rescue from your recycle bin, into vases.
These vases can display real or artificial greenery and flowers -- those finishing touches that every staged room needs.
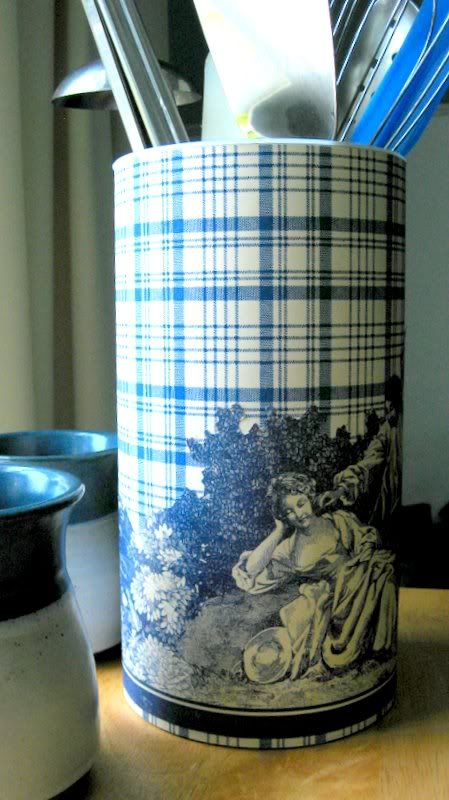
My dressed-up cardboard boxes can also stand in for decorative holders in your staged kitchen or bath, like the one at the left holding cooking utensils.
I'm a fan of cheap props because it means you can pack up your valuable and fragile belongings, and be ready to move when your house sells. If you are staging a vacant house, it's easy to stage with these inexpensive and lightweight props because you can toss them when you're done. No commitment.
Meanwhile, they look downright pretty.
Here's what you need
- Rigid boxes with simple lines, like milk cartons and oatmeal boxes. The bigger, the better.
- A wallpaper sample book. Discontinued books are free at paint stores, wallpaper outlets and from interior decorators.
- Scissors -- a sharp, pointed pair.
- Metal ruler.
- Utility knife or X-acto knife.
- Surface to cut on, such as a self-healing mat, or a cutting board.
- White glue.
- Glue gun and glue sticks.
- Oatmeal Box Vase

Choose one wallpaper pattern for the background and
one for the border. Or, just go with one pattern.
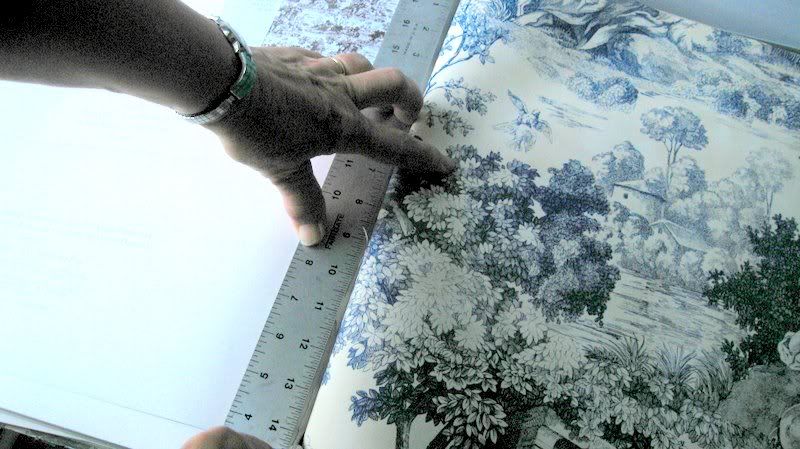
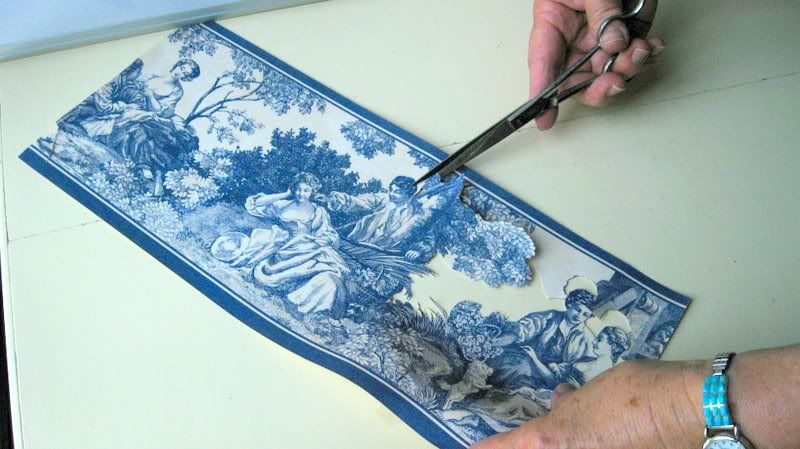
Remove the paper you've chosen from the wallpaper book.
Use your utility knife, so you get a clean edge.

Mark the paper to the perfect size, allowing
for an overlapping seam.

Cut the paper with your knife, using the metal straightedge.
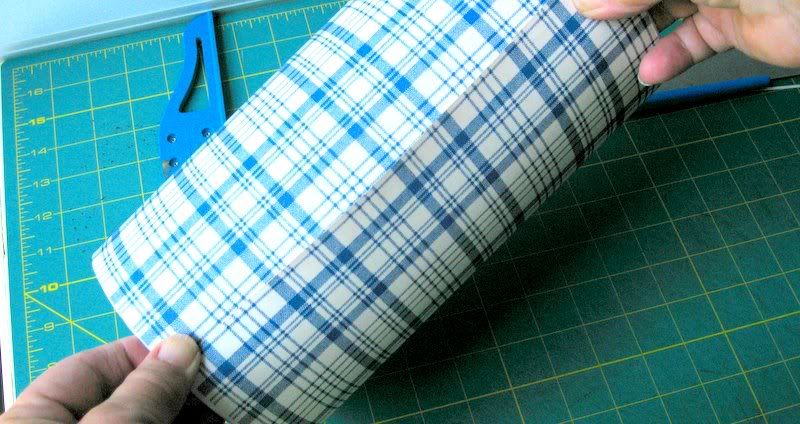
Test to be sure it's a good fit. Trim if necessary.
If you make a mistake, it's easy to just choose
another sheet of paper with a similar design.
Test the border strip to be sure it fits.
If necessary, trim the border by cutting away parts you don't want.
This step isn't always called for but on this design, I liked the look.

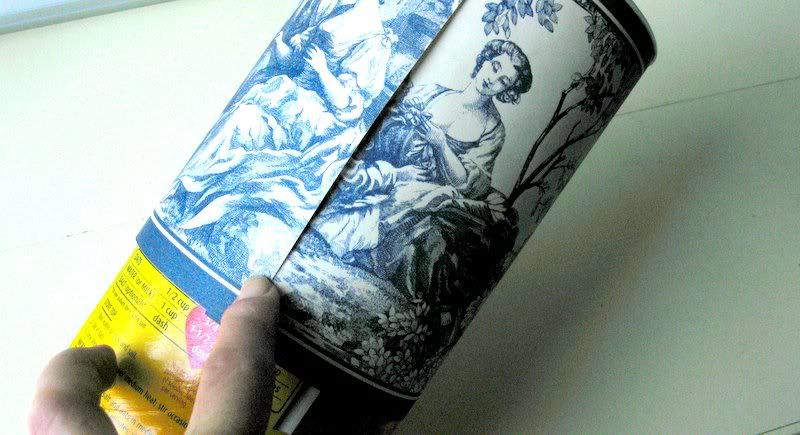
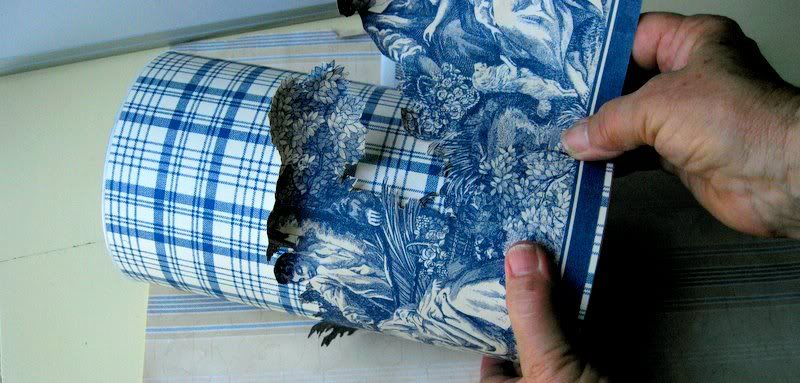
Heat your glue gun. Wrap the paper around the box and
double-check top and bottom alignment. Run a line of glue
down the box to seal one edge. Wrap the other edge over the glue.
Press with your fingers to flatten, keeping them away from the paper's edge.
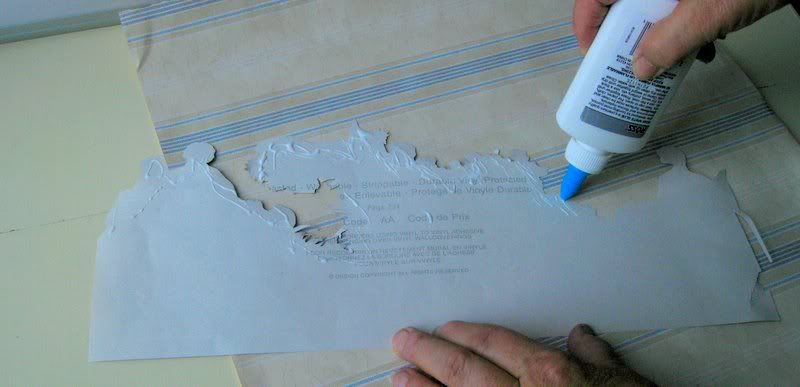
Flip the wallpaper border over on a disposable sheet of
wallpaper. Run a line of white glue around the edges of the border.

Smear the glue around so it goes to the edge.
Position the border where you want it on the box.
Place the best-looking part of the border away from the
visible vertical seam of the first layer of wallpaper. You're done!
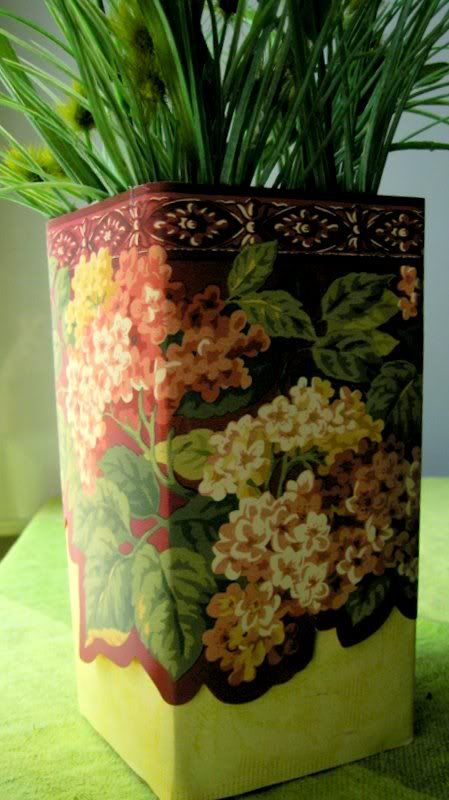
Milk carton vase
To the right is a picture of our milk carton, all fancied up. I used a yellow wallpaper to wrap the entire box, then glued a border to the top section. This wallpaper border was already trimmed, saving me one step on this vase.If you are using a milk carton, trim away the top portion with scissors. Be sure to wash milk containers, give them a bleach rinse, and let them dry well.
If you want to use your "cardboard vase" for fresh flowers, simply put a glass or plastic container inside to hold the water. For silk arrangements, you may want to place floral foam in the base of the container.
I hope you'll have fun creating these free containers to use for staging your home.
be used for other decor projects like:
There are more DIY projects in my eBook, DIY Home Staging Tips to Sell Your Home Fast and For Top Dollar. Download it now and start your staging your home today.
And that's not all
Pages from wallpaper books canbe used for other decor projects like:
- Cover picture frames.
- Recover hat boxes.
- Dress up closet shoe boxes.
- Decorate trays.
- Re-do old wastebaskets.
- Make a fireplace fan.
- Convert a plain picture matt.
- Make book jackets.
- Frame as artwork.


