Are You a Granite Snob?

Thursday, March 25, 2010
Justifying the cost of granite didn't add up,
so I chose an attractive laminate 

to replace the butcherblock-look laminate.  

The vanity counters we're installing are resin, or so-called cultured marble, and have built-in sinks. For the kitchen counters, we shopped for granite, quartz, Corian, and laminates. 

I know that buyers hyperventilate over granite counters, but for homes in our price range, we decided granite amounted to over-fixing. We doubted we’d get our money back, so we chose a stone-like black laminate that Mr. Carpenter will install in the kitchen, on the pass-through counter, and in the dry bar off the living room.

Not everyone is a granite fan. Yes, it’ll last hundreds of years, and it’s cold and smooth and shiny, but it’s not exactly maintenance-free. Some chemical cleaners can compromise the sealer and dull and discolor the granite itself.

In our area, hard water is a problem because it stains show in glossy surfaces like stainless and granite. 

With granite as countertops, if certain spills aren’t dealt with quickly, they can etch the surface.  That means everyday cosmetics and toiletries like perfume and mouthwash, as well as common foods like citrus, coffee and oils, can be detrimental to granite.
  
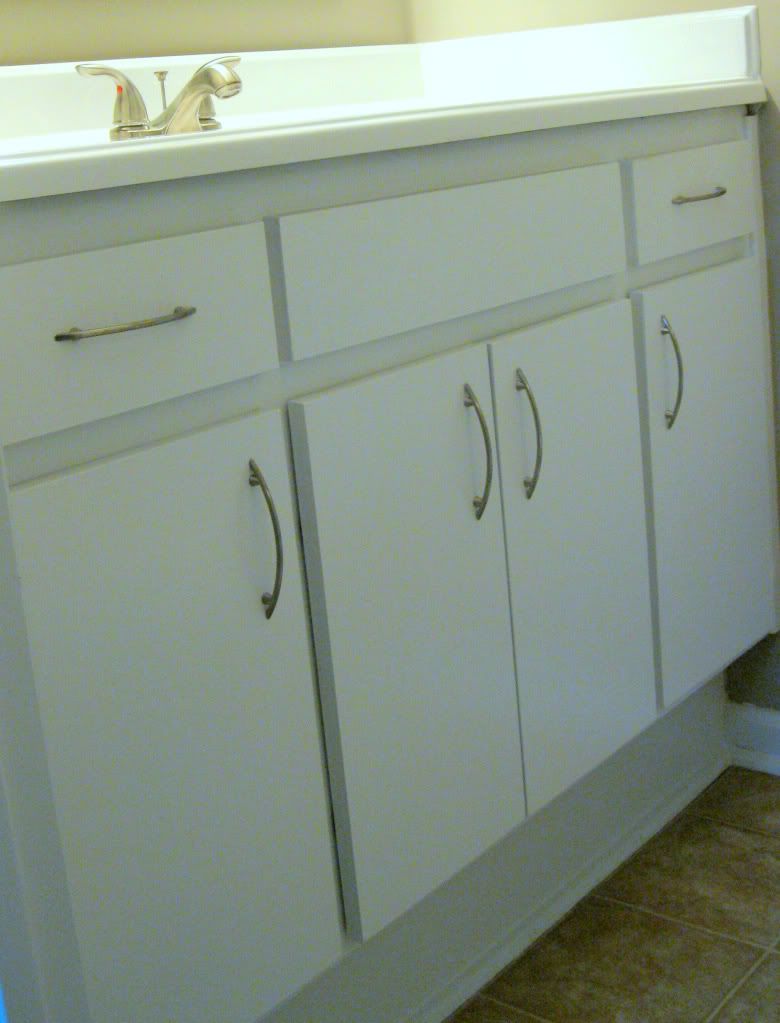
The vanities in both baths already matched,
so I gave them matching faucets 

and raised them both to a sexier 35.5-inch height.

Bring on the plastics

Laminates like Formica are easy to take care of, are reasonably priced, outlive the homeowners, and come in all kinds of styles and colors.    

At our condo, we’re trying to put money where it will give good returns. It was easier than we thought to bring the vanities up a few inches to a trendier 35.5-inch height. Mr. Lucky removed the faucets, and then he and Mr. Carpenter eased out the old sinks and countertops.

They had to enlarge the opening at the back of each vanity cabinet to accommodate the existing plumbing since it now entered the cabinet at a different level. No big deal.

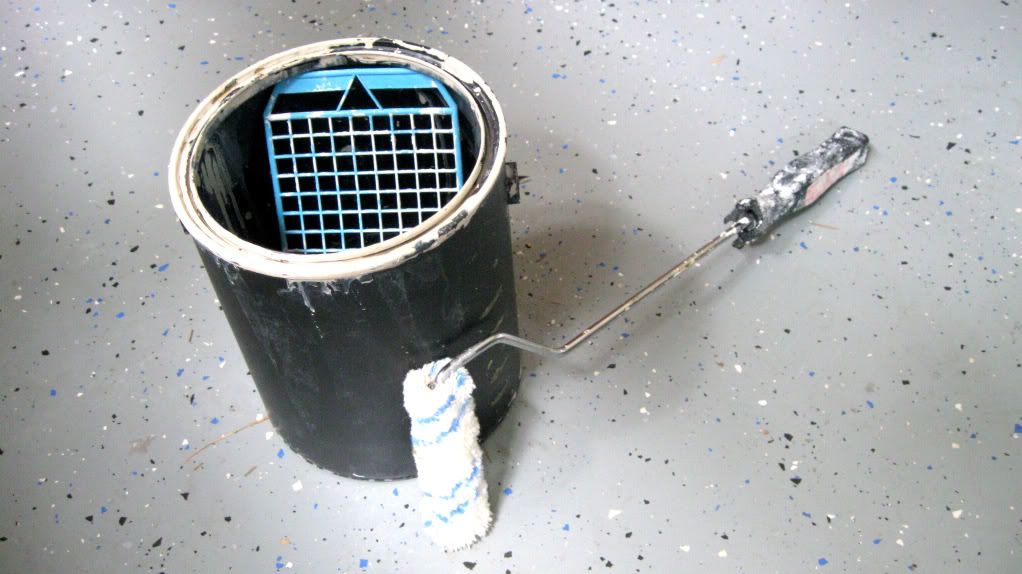
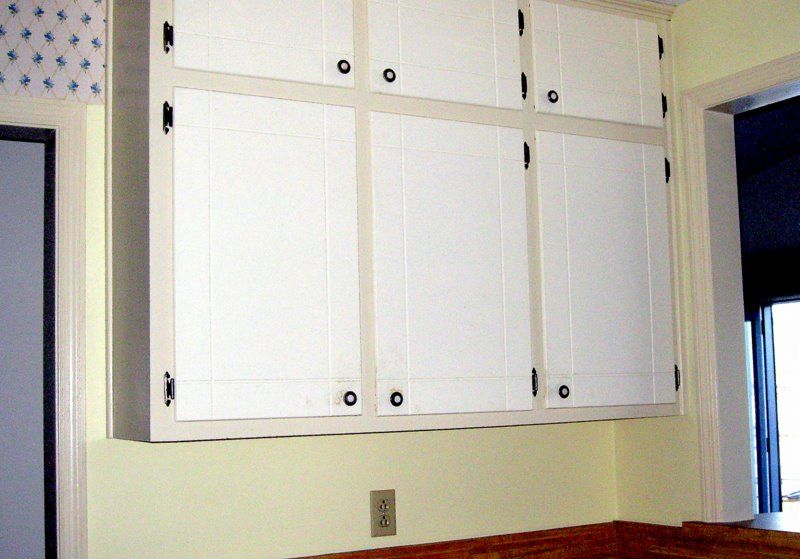
All it took as a 3.5-inch board at the base of each vanity, acting as a new kickplate. Then they were screwed back in place on the wall. I think this is an exciting way to get a contemporary look without replacing the whole cabinet, and all it takes is basic carpentry skills, some muscle, a little lumber, and a lick of paint.  

It’s worth mentioning that all the metal we pull out of the unit – old pipes, faucets, cabinet hardware, light fixtures – we are hauling to the recycle center and getting cash in return. We donated the still-good bathroom sinks to Habitat For Humanity ReStore.

How to Paint Like a Pro

Monday, March 22, 2010
Mr. Carpenter must have spent weekend time on our cabinet doors, because they are here!  What a difference. I managed to get two coats of paint inside all the cabinets, and now I’m priming the hung doors.

Using a small roller after cutting around the hinges with a brush makes the work go quickly.

Big is not always better. The 4.5-inch roller is a handy tool to have. The brand I use comes from and is called a Whizz.

A Whizz is not suitable for painting large areas, but for things like these, it’s perfect:
  • Interior doors of all kinds (solid wood, hollow core, or hollow six panel)
  • Cabinet doors and cabinet interiors
  • Exterior metal and wood doors
  • Shelves from closets or fixed bookshelves
  • Closet walls
  • Pickets on exterior porches and decks, and balustrades on interior stairwells
  • Walls behind toilets
Instead of using a paint tray, a Whizz works better if you set a grid into an empty, clean, one-gallon paint, and then pour in a few inches of paint.  The Whizz and grid are easy to wash up when you’re done, so they’ll be ready for you the next time you’re ready to roll.

This little roller is one of my handiest tools for 
staging because it makes painting small areas easy. 
The grid fits into a 1-gallon paint can.
While I’ve been whizzing, Mr. Lucky has finished painting all the trim, including interior doors, with white semi-gloss.

Trim always gets painted first, then the walls.

As soon as the doors were dry, we hung them back up, replacing the old brass hinges and door knobs with new brushed nickel ones. Cost per door: about $10 for both knob and three hinges. Good bang for the buck!

Lowes delivered the new six-foot sliding patio door, so the Mr. Lucky and Mr. Carpenter tore out that old double door to the deck, and wrestled the new into place. I make it sound easy, but I could tell from their muttered expletives that it was not. Once positioned and trimmed out, the difference is striking. Beautiful.

Adding Bling: Lights, Faucets, Handles

Friday, March 19, 2010
Kitchen lighting is important, and not expensive. On our daily swing through Lowe’s we picked up some halogen track lights to replace two kitchen ceiling fixtures.

They were less than $40 each. The existing ones were not ugly, so we relocated them to the hallway, replacing builder grade fixtures.

The bathrooms received their matching faucets last week. I’m a firm believer in the value of pairs, as readers of my eBooks  know.

Matched pairs of accessories or furniture add instant style to a room. Although the bathrooms are in two separate areas of our condo, I still wanted them to have matching faucets. I think it makes the place feel more like a newly constructed home rather than one remodeled whilly nilly over time.

I also wanted the faucets to be single lever, not a spout and two separate handles. It’s a cleaner look and a more user-friendly design. Faucets can get very pricey but we were able to find one style that met my fussy criteria for under $50 each. Although we could have spent a couple hundred dollars on a new la-di-dah kitchen faucet, we settled on a decent looking one for just $68.

If you have patience and a faucet that you love, it is possible to change the finish from chrome or brass to a more trendy oil rubbed brass finish.

People who rehab and sell houses for profit know the importance of putting some money into these small but showy details, the home’s jewelry. For less than $40 total we added an oversized chrome shower head to each bath. You can’t miss them, and that’s exactly what I wanted.

I love the vanity lights we chose. They’re compact, bright, and edgy, and for $75 each, worth every penny.

Last but not least, and not exactly bling, we replaced the toilet seats. All home buyers want to imagine their butts are the first to sit there. I wanted the seats to look absolutely pristine.

Kitchen Rehab on a Shoestring

Thursday, March 18, 2010
Painted cabinets, with new, hidden
hinges and simple chrome handles.
One of the least attractive aspects to the condo we're rehabbing was the look of the kitchen.

We knew that kitchens are important to buyers, and we knew this kitchen wasn't getting a passing grade.

Cabinet Fail 

While there was nothing inherently wrong with the layout, it looked like a somewhat controlled explosion of cabinet doors, knobs, and hinges.

It was Mr. Carpenter who came up with the idea of replacing a vertical stack of three small cabinet doors with one long door, and hanging them with concealed hinges.  The look will be clean and streamlined, an upgrade for sure. He’s taken measurements and will be working on those top-grade plywood doors back at his shop.

Update: The photo aove  shows what the cabinets looked like when we finished with the makeover. 

With doors off the kitchen cabinets, I’m able to go to work on the insides.  They were nasty with a capital N. It always blows me away to see how some people put a home on the market.

Would it have killed these sellers to take 15 minutes to spray and wipe inside the cabinets? Or paid someone to do it? I suspect that dirty cabinet interiors are just one more reason this property sat on the market for two years.

Disgusting details like that are the subtle turn-offs for people out househunting. Buyers subconsciously assume other problems lurk unseen.

Closet story  

Meanwhile, Mr. Lucky has removed all wooden shelving from all closets, so that I can fly in on those. I’m sanding them, then giving them all two coats of bright white semi-gloss paint. I want those closets to glow!  I taped contractor’s paper to the floor of every closet, and Mr. Lucky came behind me with the airless paint sprayer and gave every closet a fresh coat of paint from top to bottom. 

We always like to do closets with white semi-gloss paint. The semi-gloss is easier to wipe clean, and the white reflects light better.  Also, should a homeowner later decide to change the wall color of a room, the white closet doesn’t have to be painted to match, which isn’t the case when a closet in a pink room gets painted pink to match the room.

These are the same cabinets pictured above,
before we painted them. The dark hinges 
and knobs were distracting and dated.

If you are dressing up a home for market, consider painting your closets after you have decluttered them. It’s not necessary to have a paint sprayer, just faster. If your closets have wooden shelves, either paint them in place, or remove and paint both sides. If you have vinyl shelving, just paint around the supports and shelves.

My advice? Do a closet each day to make it painless. If they are small enough, you can brush them and save roller cleanup time. Painting the ceilings will make the closet look bigger and brighter, but painting their popcorn ceilings is messy.

To learn other staging and kitchen makeover tips, check out my eBook, DIY Home Staging Tips to Sell Your Home Fast and For Top Dollar.  

How to Stage a Pointless Room

Thursday, March 11, 2010

Staging our condo for the real estate market, making it so attractive that buyers will practically salivate, is going to be my creative challenge for the next couple of weeks.

There will be plenty of grunt work and mental calisthenics, too, but I thrive on this stuff!

Closing was this morning.We left the lawyers' office, had a celebratory lunch at our favorite Mexican restaurant, went home to change into work clothes, loaded up some tools and equipment, and dove into our new project.

First things first

First task for me is getting all the wallpaper down. It’s in both baths, on two walls of the kitchen, and in an open closet off the living room which I’m calling the dry bar.

The dry bar is a room that doesn’t make sense, the perfect sort of space that benefits from staging.

I don’t know what the builder had in mind. He put in some upper shelves, some lower cabinets and a laminate countertop. A TV alcove? Little library? Storage room?

I’ve decided to stage it as a party headquarters because it is near both the fireplace and the door to the deck.

Help buyers imagine good times

I think people like to envision themselves in the happiest, most relaxing situations when they are shopping for a home.

If you watch any of the television shows featuring actual people looking at homes to buy, it’s eye-opening. I know these shows are heavily prescripted and edited, but I still think much of the reactions are genuine. So I think anyone with a home on the market can learn some things from watching typical buyers touring typical homes on HGTV.

Women often make comments about whether the kitchen’s center island is big enough for a holiday buffet, or if the soaking tub has jets. Men want to know where the high def plasma screen will go, and if the patio is big enough to accommodate all their friends.

They are both picturing the best of times. That’s why I plan to turn a nonsensical door-less closet into a tease of happy times when they live here. Here are the things that I have collected for this tiny room.


Essentials for the dry bar

  • Three bottles of my favorite mineral water  
  • A small basket with some fake lemons
  • Four wine goblets on a wicker tray
  • Four beer mugs
  • A bunch of matching plastic tumblers that look nice and sparkly
  • An ice bucket
  • A three-bottle wine rack and three empty wine bottles
  • A fancy decanter filled with faux brandy (tea) and two small, stemmed gasses
This much stuff sounds like a lot of detail to cram into a small space, but I want househunters to linger in that corner, so I think it’s a good call.

I encourage you to look around the home you want to sell, and find some space that can be used to capture the imagination of buyers.

Need more tips for staging your home on the market? Download my eBook, DIY Home Staging Tips to Sell Your Home Fast and for Top Dollar. You'll learn all the tips and tricks tomake your homestaging projects easy and economical.

Popular Posts